How to Create a Plastic Paint Bucket Mould
Creating a plastic paint bucket mold requires careful planning and execution. In this article, we will guide you through the step-by-step process of creating a plastic paint bucket mold. Please note that this guide assumes you have basic knowledge of molding techniques and access to necessary tools and materials.
Step 1: Design the Mold
The first step in creating a plastic paint bucket mold is to design the mold. This involves determining the size and shape of the bucket, as well as the number of cavities in the mold. Consider factors such as the desired capacity of the bucket, the handle design, and any additional features you may want to incorporate.
Step 2: Choose the Material
Next, you need to choose the material for the mold. Common choices include aluminum and steel. Aluminum molds are easier to work with and less expensive, but they have a shorter lifespan compared to steel molds. Steel molds are more durable and suitable for large-scale production but are more expensive.
Step 3: Build the Mold
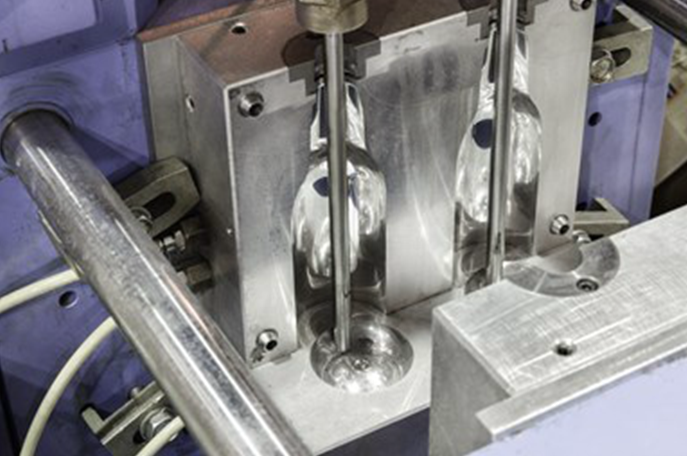
Once you have the design and material ready, it’s time to build the mold. Start by preparing the mold base, which serves as the foundation for the mold. This is typically made from steel or aluminum. Next, create the cavities in the mold by machining or CNC milling. Ensure that the cavities are precise and match the design specifications.
Step 4: Add Cooling Channels
To improve the efficiency of the molding process, add cooling channels to the mold. These channels help dissipate heat and reduce cycle times. They can be drilled or machined into the mold base and connected to a cooling system. Proper placement and design of cooling channels are crucial to ensure uniform cooling of the mold.
Step 5: Polish the Mold
After the mold is built, it needs to be polished to achieve a smooth and glossy finish on the molded product. This is done using various polishing tools, such as sandpaper or polishing compounds. The level of polish required depends on the desired surface finish of the paint bucket.
Step 6: Test and Adjust
Before starting mass production, it’s important to test the mold and make any necessary adjustments. Inject plastic into the mold and observe the quality of the molded parts. Check for any defects, such as warping or air bubbles. If any issues are identified, make the required modifications to the mold and repeat the testing process until satisfactory results are achieved.

Step 7: Mass Production
Once testing and adjustments are complete, the mold is ready for mass production. Set up the injection molding machine according to the specifications of the plastic material being used. Ensure that the machine is properly calibrated to achieve consistent and high-quality results. Monitor the production process to detect any issues timely and make adjustments as needed.
Step 8: Maintain and Repair
Regular maintenance and repair of the mold are essential to ensure its longevity and consistent performance. Clean the mold after each production run to remove any residue or contaminants. Inspect the mold for any signs of wear or damage, such as cracks or dents. Address any issues promptly to prevent further damage and maintain the mold’s efficiency.
Creating a plastic paint bucket mold requires careful planning, design, and execution. By following the steps outlined in this guide, you can create a high-quality mold that will enable you to produce plastic paint buckets efficiently and effectively. Remember to prioritize safety and quality throughout the process and seek professional assistance if needed.
Previous:Top-Notch English Injection Molds for Chair Manufacturing
Next: Creating a High-Quality Plastic Pallet Mould: An Expert Guide
-
Designing the Perfect Plastic Chair Mould: A Masterpiece of Innovation in English
2023-6-30
Plastic chairs have become an integral part of our daily lives. Whether it's at home, in the office, or even in public s...
View details -
Production of Injection Crate Mould with High Precision and Quality
2023-6-30
Injection moulding is a widely used manufacturing process for the production of various plastic components. One such com...
View details -
Injection mold: precision tool for plastic product manufacturing
2024-9-20
As the core equipment in the production of plastic products, injection mold is an indispensable part of modern industria...
View details -
Learn Creating Large Plastic Molds manufacture
2023-5-9
Plastic molds are widely used in the manufacturing industry for producing large quantities of plastic parts. These molds...
View details -
Injection Molded Plastic factory: The Manufacturing Technique Explained
2023-6-6
Injection molding is a popular manufacturing technique used to produce plastic products. This technique involves injecti...
View details -
Injection Molding Parts: High-Quality Components for Manufacturing Needs
2023-4-20
Injection molding is a widely used manufacturing process that involves injecting molten material into a mold to produce ...
View details


